


Remember when you were younger and had a Brownie Camera. Remember your first trip with it and you had what seemed to be a short time to get all those memorable photographs. Remember taking the film to the Pharmacy and getting it developed. Remember the pictures which captured what you saw but were not the 'professional' quality of those pictures sold in the Gift Store. Remember the pride you had because you took these pictures!
I was wondering what the equivalent would be for an astronomy night. I will admit that my equipment might be a bit more than a 'Brownie Camera', but I thought of a scenarios which might duplicate what a novice would or could accomplish with a simple setup and a simple set of procedures.
So, here is what I did. I have a permanent mount for my LX200 10" F/6.3. I polar aligned it about nine months ago. We all know the Meade Superwedge is temperature sensitive. So I figured the polar alignment was good but not great and would duplicate a novice's polar alignment. I then mounted my 1616 XTE with color wheel to the telescope and shot seven flat fields, seven dark frames for the flat fields, and seven one minute dark frames at -10C. I then when to Zeta Her and focused the system with a three hole Hartmann Mask. I changed the max slew rate to two degrees per second and slewed to M13. I centered it and then synced on it. I turned binning on. I was now ready to start my tour. The pictures were now one minute exposures through the red, green, and blue filters; the images where unguided during exposure; the telescope was left where the goto placed it; and the focus was not changed. I gave myself 100 minutes to image objects. Needless to say, I stayed with bright objects. After creating a flat and a dark, then let a program subtract the dark, flatten with the flat, stretch with some 'magic' constants that were set long ago in the software, and merged the red, green, and blue into a color image.
So, how did I do, since I did not guide, did not center, did not focus the images. Well, I managed to get 17 RGB images in the 100 minutes, averaging just under 6 minutes to go to the object, and was shooting three one minute color filter exposures. So here they are in the time sequence I took them (reading left to right).
Note that some have expanded views which show my playing with the color enhancements and also show the full resolution binned images.
|
|
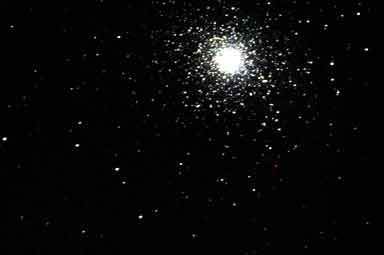
M 13, July 1, 01:50UT | |
M 106, July 1, 00:56UT |
|
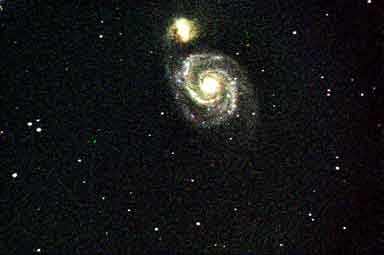
M 51, July 1, 02:02UT | |
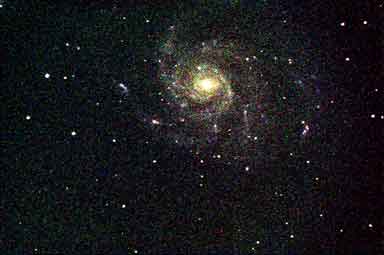
M 101, July 1, 02:07UT |
|
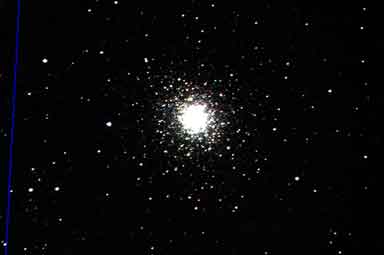
M 5, July 1, 02:13UT | |
M 92, July 1, 02:19UT, with a satellite during the blue exposure |
|
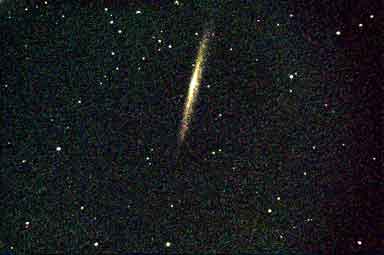
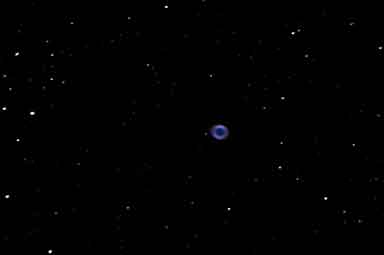
NGC 5907, July 1, 02:24UT | | M 57, July 1, 02:30UT, I did reduce the scaling, otherwise it would have been a white oval. Click here for full resolution |
|
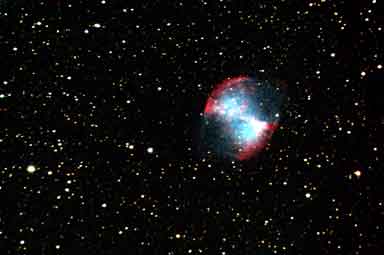
M 27, July 1, 02:36UT. Click here for full resolution | |
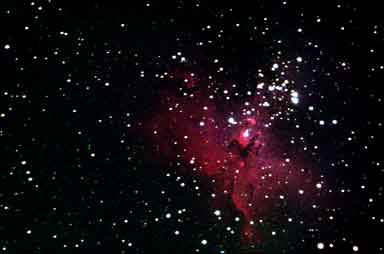
M 16, July 1, 02:42UT. Click here for full resolution |
|
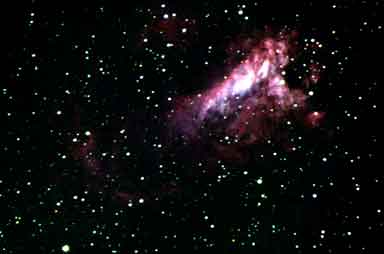
M 17, July 1, 02:47UT | |
M 20, July 1, 02:53UT. Click here for full resolution |
|
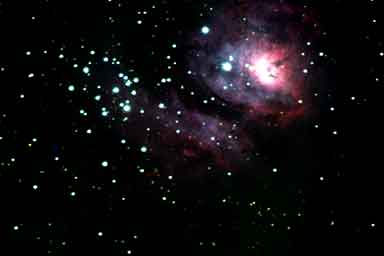
M 8, July 1, 02:58UT. Click here for full resolution | |
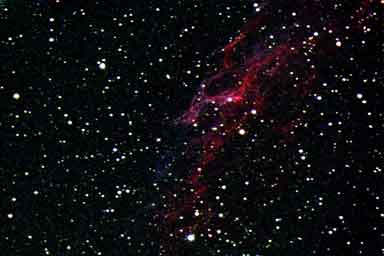
NGC 6992, July 1, 03:06UT. Click here for full resolution |
|
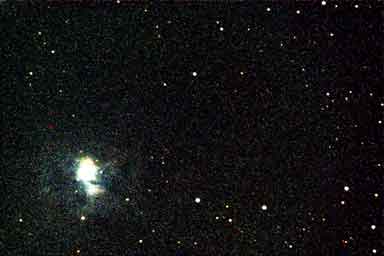
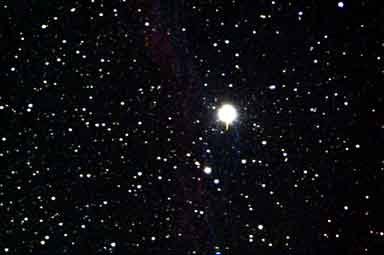
NGC 7023, July 1, 03:13UT | |
NGC 6960, July 1, 03:19UT, even a Brownie camera cannot capture everything. Click here for full resolution |
|
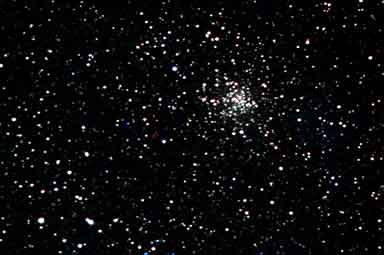
M 71, July 1, 03:24UT, finishing 98 minutes after the first image for M13 |
Last updated: July 4, 2000.
Home